If you wish to get an idea of the functional condition on your DJ gear, or you are looking to buy second hand Pioneer DJ gear, then read this!
Service mode is a simple program on Pioneer DJ devices that allows you to examen the player, mixer or even controller for defects on the control surface. In service mode you can check the buttons, faders, potentiometers, screens, LED’s, jog wheels and sometimes even more. And do not worry, it is safe to enter and there is no way you can damage your device by resetting, or reprogramming the unit in any way using service mode.
To enter service mode you have to push a combination of 2-3 buttons while powering up the CDJ, XDJ, DJM or whatever Pioneer DJ device you are working on. The combination of buttons needed is different from model to model. In the end of this article we have a few examples of some of the most common models and button combinations.
You can always find information about service mode in the service manual, however the service manual may not always be available for consumers. A good place to get the manual is manualslib. Here you will find all the manuals that comes with the unit and sometimes also the service manual.
Once you entered service mode there are often a few steps or sequences you must follow to test one thing after another. On most Pioneer DJ 4 channel club mixers like the DJM900Nexus you will first check the LED’s, then buttons then potentiometers and at last the faders. The “moving parts” like buttons, faders sliders are tested by pressing, sliding, or turning. When the part is pushed, slided or turned an LED should illuminate, and/or a text displayed on the screen writing the name of the component activated. “CUE” for instance. You may want to press the buttons 4-5 times each to make sure that the contention is good. Regarding sliders, and potentiometers you might have to wiggle them gently from side to side to make sure there are no loose connections.
To navigate the steps in the service manual, you must use one or two navigation buttons. On mixers you typically use the tap button, on CDJ’s it’s the back and tag buttons in the upper right corner of the screen. DDJ controllers who have no screen are a little different and a bit more difficult to navigate. Typically, you can check it all in the same sequence.
In the event you find one or more issues on the DJ gear, you may have to repair it. Here are some of the most frequent types of issues:
Defective buttons are most often fixed simply by replacing the “tactile switch” – often referred to as “tact switch” or simply “switch”. Watch our collection of switches for Pioneer DJ.
Replacing the switch is the cheapest way to fix a defective button although to do this you will need to solder. The only alternative is to replace the whole PCB (printed circuit board). Replacing the whole board is the safest and fastest way to fix most issues – especially if you aren’t so used to soldering. And in cases where you need to replace a bad play or cue button, it might be worth it to simply replace the whole board. Especially on many of the bigger new models like the XDJ XZ, and most flagship players like CDJ3000. Watch our collection of replacement circuits for Pioneer DJ.
.
Loose connections on faders are just like buttons fixed by replacing the component itself or the board. You will have to look up the price to see what type of repair makes the most sense for you. Watch our collection of replacement faders.
I have often seen people trying to fix a bad fader by using contact cleaner or isopropyl alcohol and I have say that it is a no go. The reason is; the slider is lubricated with some sort of oil, and once you mix that with contact cleaner or alcohol you will dissolve this oil and make the slider absolutely stiff and almost unmovable. If you anyway try to fix anything with a spray product directly on the electrical components – then make sure that the power is OFF, and that the unit is 110% dry before turning it back on. Otherwise, you will blow a fuse.
Loose connections on potentiometers, it would normally make the most sense to replace the component itself, and not an entire PCB. Usually, the boards that contains potentiometers are big and vital and therefore also expensive. Replacing potentiometers requires soldering, however I personally find it easier to replace most potentiometers, than switches. Here is a link to our collection of potentiometers. make sure to get the meter with the right amount of pins, and also you should check rather it should have the “click/ step” while in the middle position. If you are unsure what type of potmeter you need, then feel free to take contact, we are here to help!
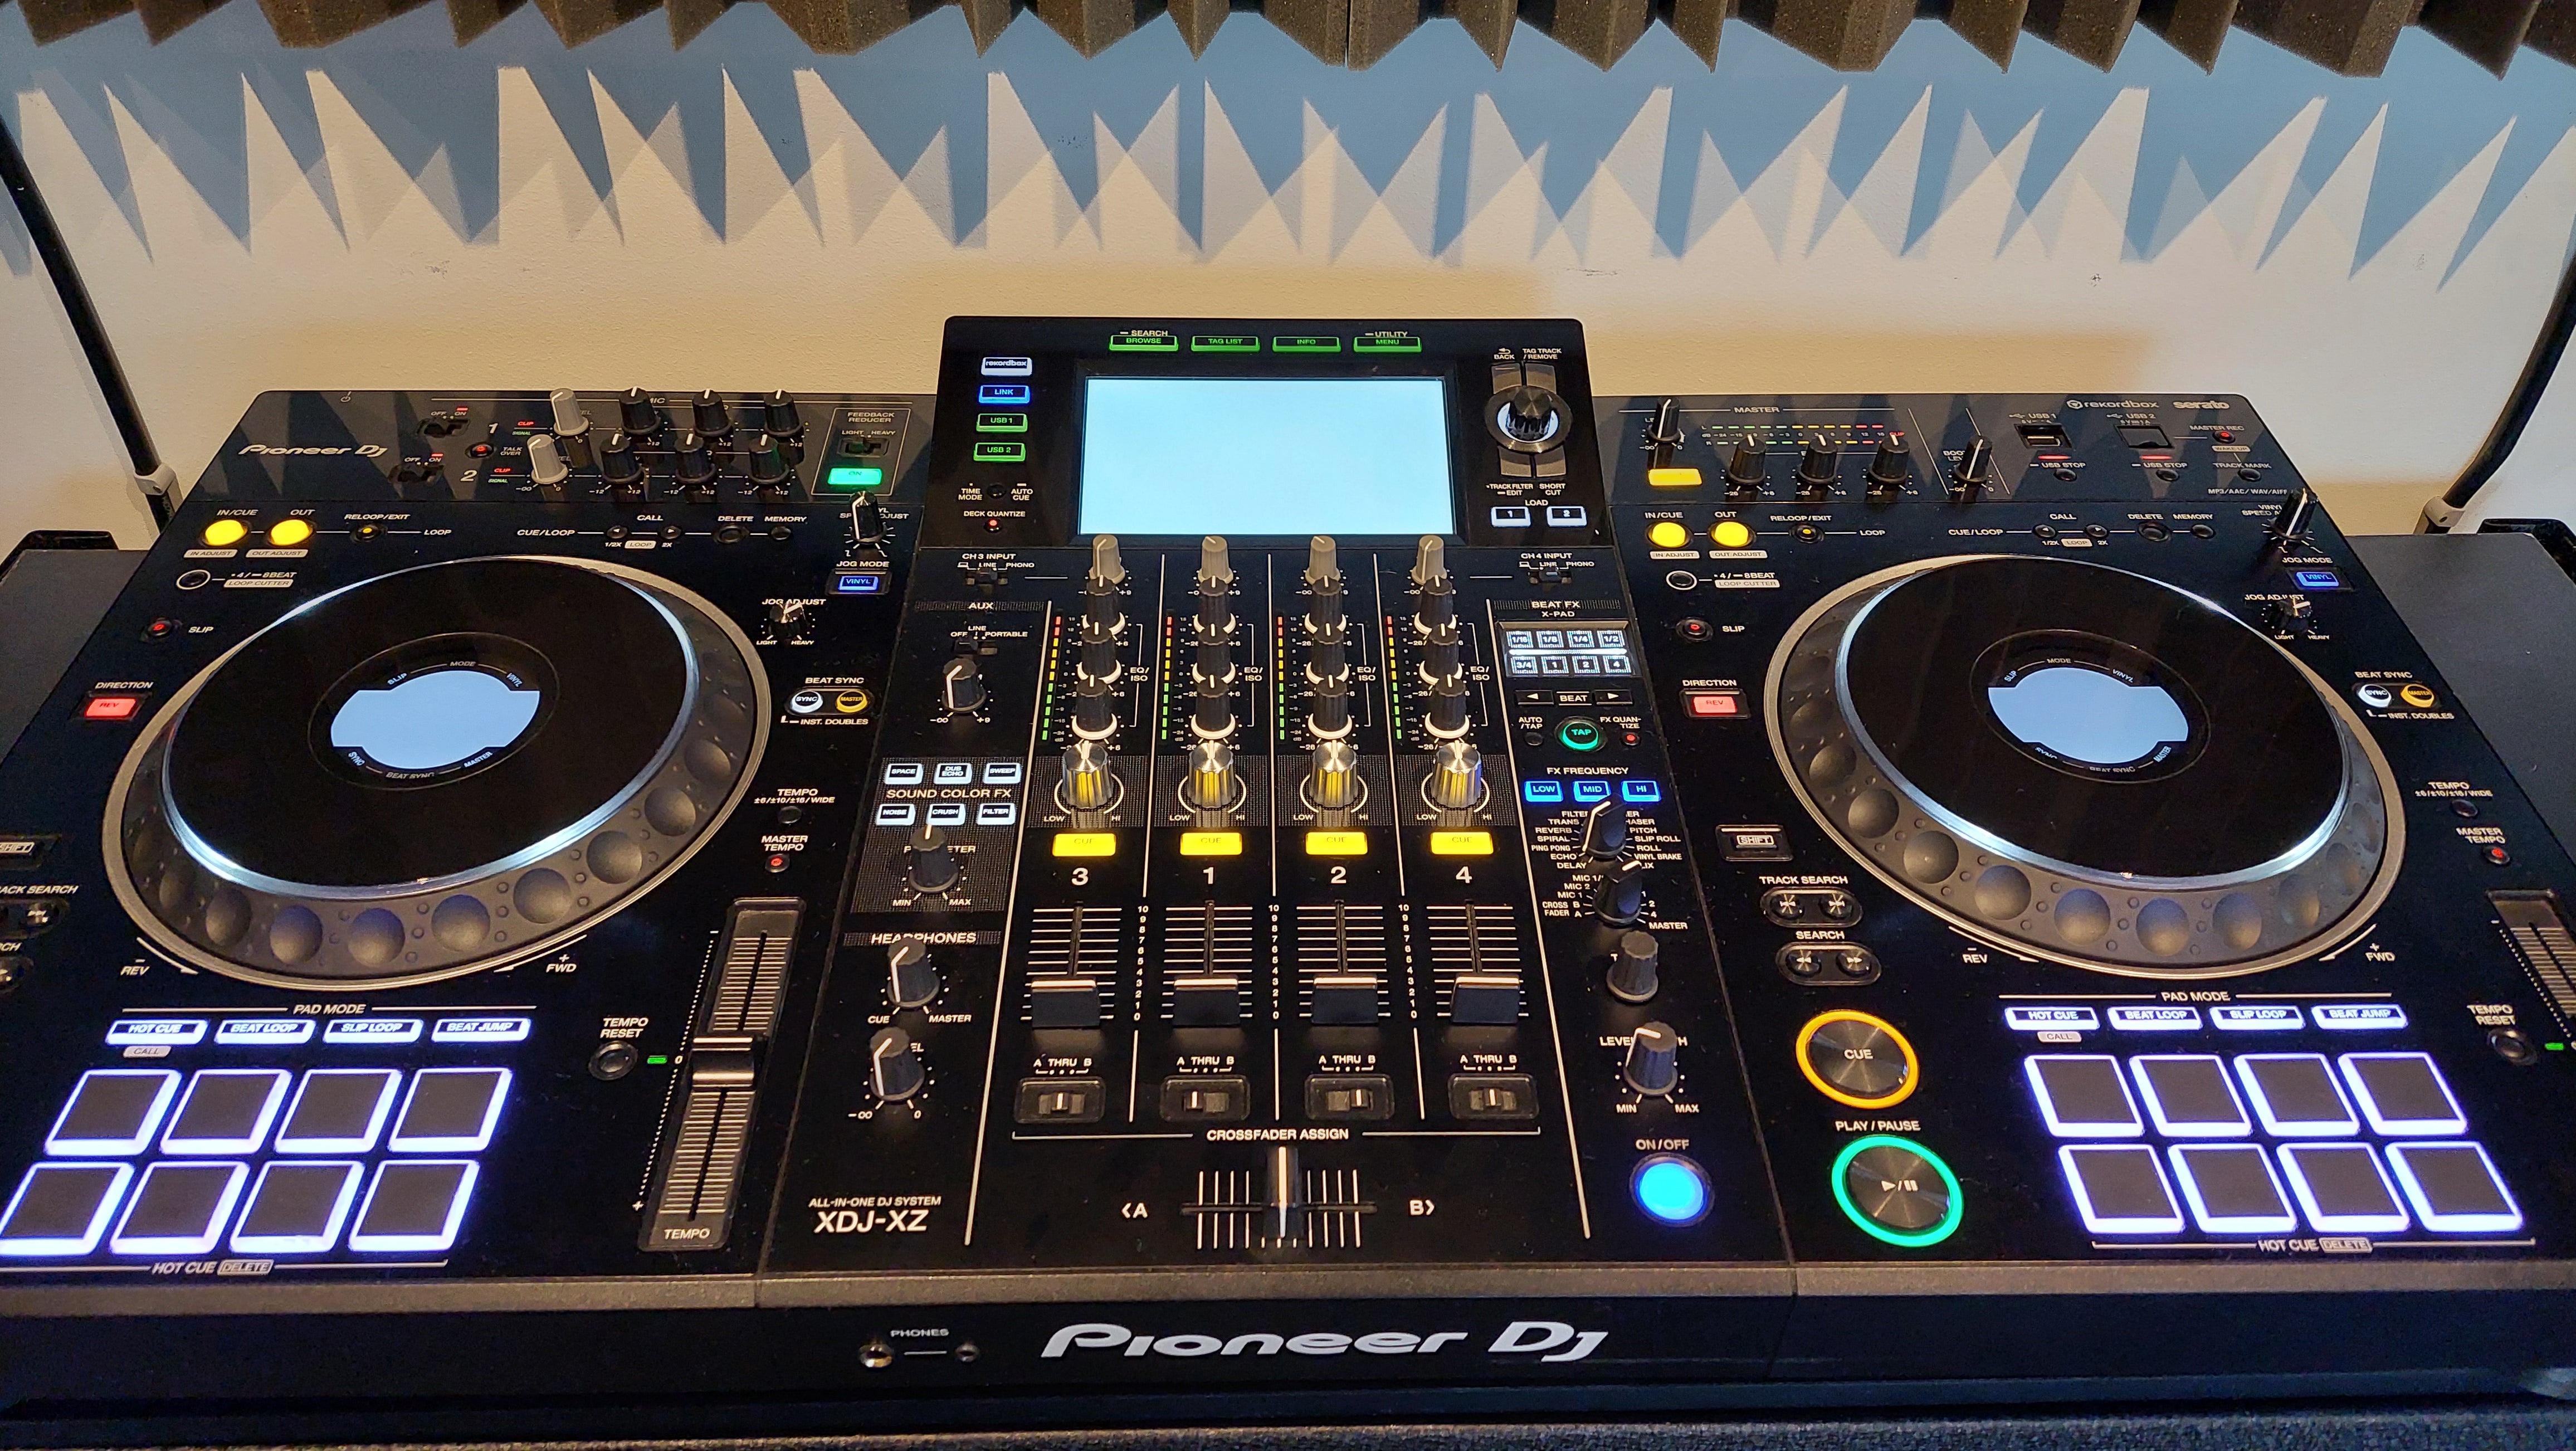
On most of the players out there the button combination is the same. Hold down “TEMPO” and “MEMORY” while powering up the unit. This method counts for CDJ’s like CDJ1000, CDJ900, CDJ2000, CDJ2000Nexus, CDJ2000NXS2 and XDJ all in one unit like the XDJ RX, XDJ RX2 and XDJ XZ and a lot more players!